Purchasing a used laptop can be a smart and budget-friendly decision. However, to avoid potential issues down the line, it’s crucial to conduct a thorough inspection before making your purchase. This guide outlines essential tests to ensure the laptop you choose is reliable and fully functional.
How to Test & Check a Used Windows PC or Laptop Before Buying It ?
1. Inspect the Display, Keyboard, and Trackpad
The display, keyboard, and trackpad are among the most frequently used components, making them critical to assess.
Display:
- Visit a website like Test My Screen to check for dead pixels, discoloration, or flickering.
- Use solid-colored backgrounds (white, black, red, green, and blue) to detect irregularities.
- Adjust brightness settings to ensure proper functionality and check for backlight bleeding or uneven lighting.
Keyboard:
- Use an online tool like Keyboard Tester to confirm all keys are responsive.
Trackpad:
- Test smooth cursor movement and multi-touch gestures (scrolling, pinch-to-zoom, multi-finger tapping).
- Verify that physical buttons (left and right clicks) function correctly.
2. Test Webcam, Microphone, and Speakers
For those using their laptop for video calls or multimedia, these components should work flawlessly.
Webcam:
- Open the built-in Camera app on Windows to verify image clarity and functionality.
Microphone:
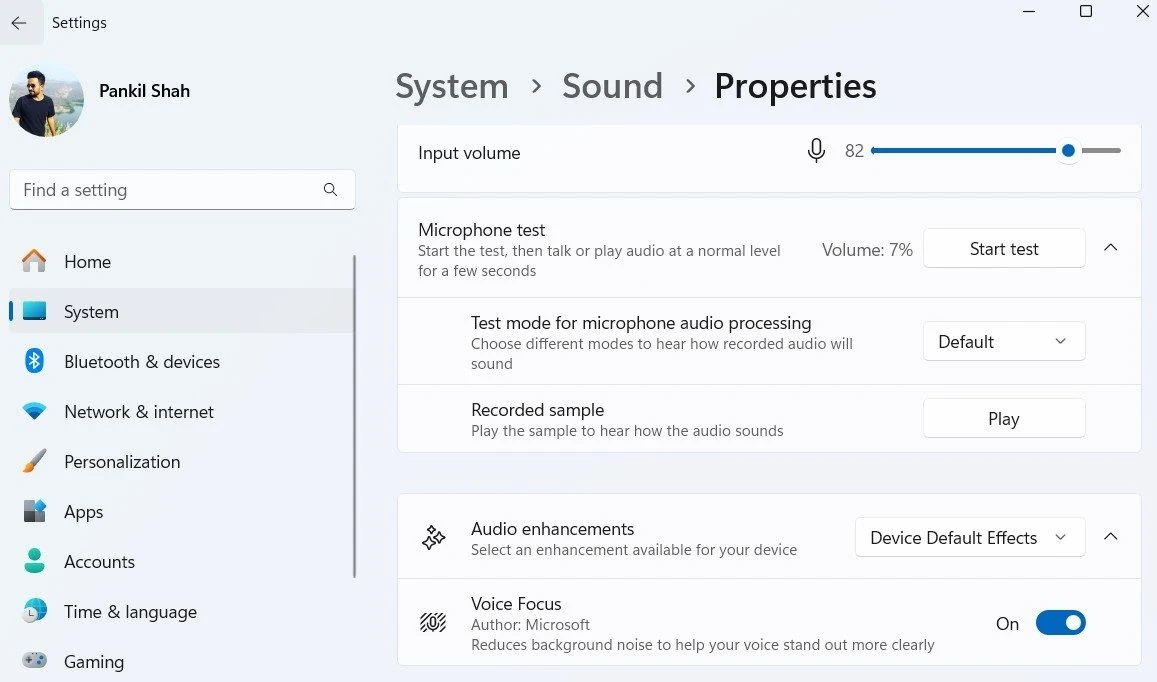
- Go to Settings > System > Sound, select the built-in microphone, and use the Start test option to record and play back your voice.
Speakers:
- Under Settings > System > Sound, select the built-in speakers and use the Test button to ensure clear, distortion-free audio.
3. Verify Laptop Ports
Ensure essential ports like USB, HDMI, and the headphone jack are functional by connecting external devices such as a USB drive, headphones, or an external monitor.
4. Check RAM Health
Faulty RAM can lead to crashes and poor performance. Use the Windows Memory Diagnostic Tool to detect issues:
- Press Win + R, type mdsched, and hit Enter.
- Select Restart now and check for problems.
- After the test, review the results in the Windows Event Viewer under Windows Logs > System by searching for MemoryDiagnostic.
5. Check Hard Drive Condition
A failing hard drive can cause data loss and system crashes. Use CrystalDiskInfo to check:
- Health Status: Should be marked as Good.
- Temperature: Should remain between 30°C and 50°C (never exceeding 70°C).
6. Evaluate Battery Health
Battery performance degrades over time. Generate a Battery Report to assess capacity:
- Open Command Prompt as an administrator.
- Type powercfg /batteryreport and hit Enter.
- Locate the report at C:\Users\[UserName]\battery-report.html.
- Review the estimated battery life to determine if a replacement is necessary.
7. Stress Test CPU and GPU
To ensure the laptop can handle heavy workloads without overheating:
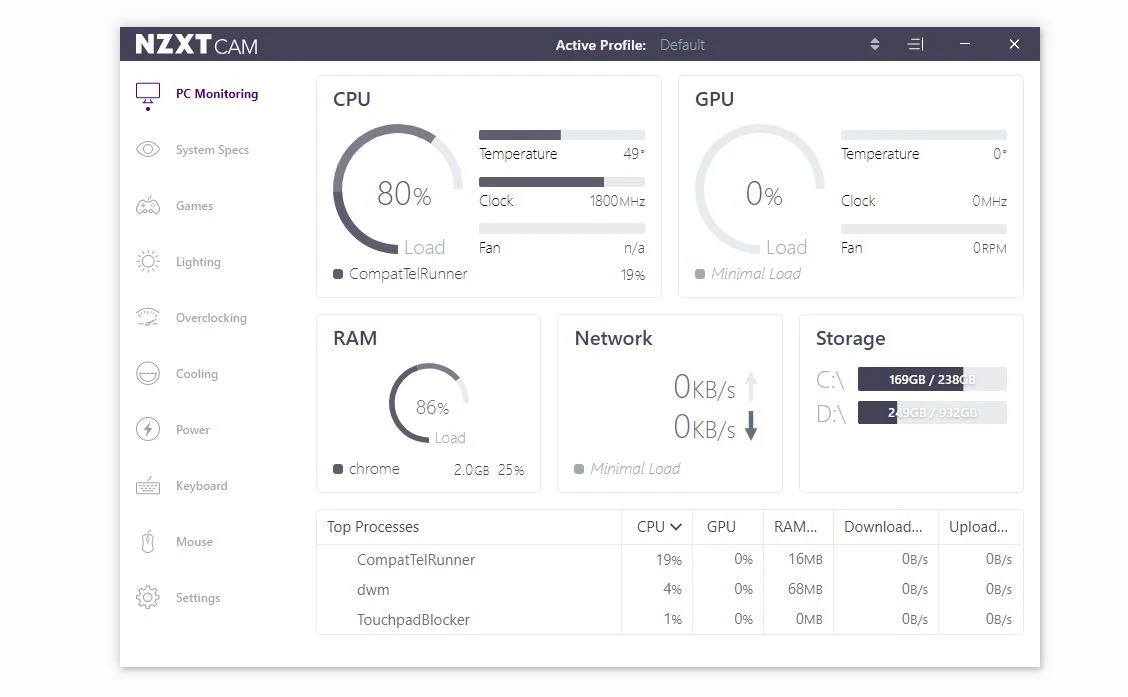
- Use stress-testing tools to push both components to their limits.
- If the system remains stable, it's a good indicator of reliability.
- If overheating occurs, consider additional cooling solutions like extra case fans or cooling pads.
Whether you're buying a used laptop or receiving a hand-me-down, these tests will help you assess the hardware’s condition and avoid costly repairs. Taking the time to perform these checks ensures you invest in a high-quality, functional device.
By following this guide, you can confidently purchase a second-hand laptop that meets your needs without unexpected surprises.


